Stage One - Drawing in Adobe Illustrator 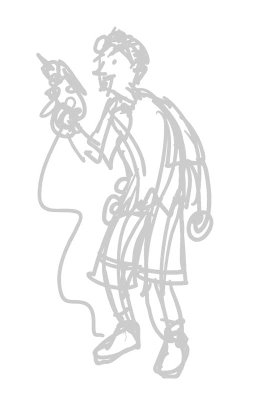 First rough sketch in Illustrator, using Brush tool and Wacom tablet.
 First rough sketch in Illustrator, using Brush tool and Wacom tablet.
 More refined "pencils" in blue, using a finer Illustrator brush tip.
(For complicated subjects I'd do another "pencil" stage in mid-grey, but I was happy enough with this drawing to go straight to "inks."
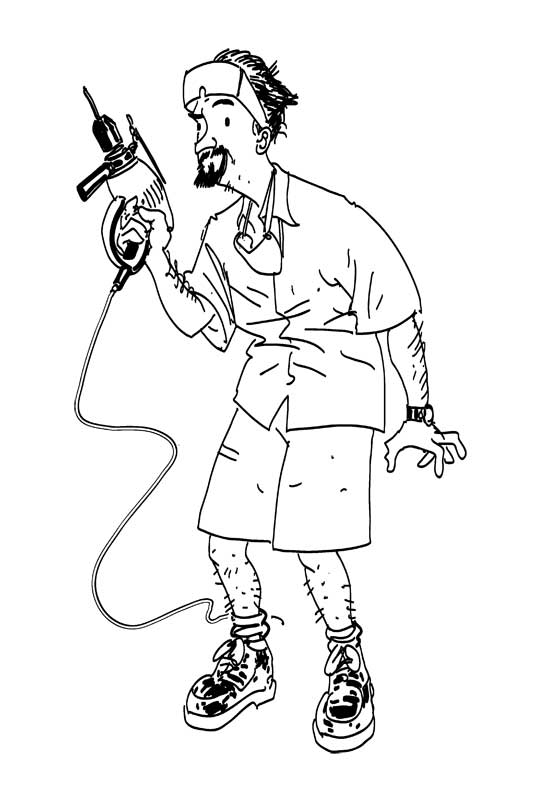 "Inks" done in black with a yet finer Brush tip - the Brush tool gives a flexible line that responds to pressure from the stylus tip, like using a traditional dip-pen or brush. If there were big areas of black, I'd fill them using the Pencil tool and a black fill, but in this case, I just used a heavier Brush tip to add small spots of black.
I then used File: Export to export the finished drawing as a 400dpi RGB Photoshop document with layers (no anti-aliasing)
Stage Two - Preparation in Photoshop
 Because I'd exported from Illustrator in Photoshop format, the drawing was floating on its own transparent layer. This allowed me to add colour and texture on layers beneath the drawing without obscuring the line-work.
I added a light brown background to serve as "underpainting" for the eventual colouring. I usually work from a coloured background rather than white.
 Using the Magic Wand and the Fill command, I made a white mask on a new layer just below the inks (that's to say, a floating sheet of white with a "hole' cut in it corresponding to the drawing.) This means I can colour on layers below the mask, without having to worry about keeping inside the lines.
Now to add the texture.
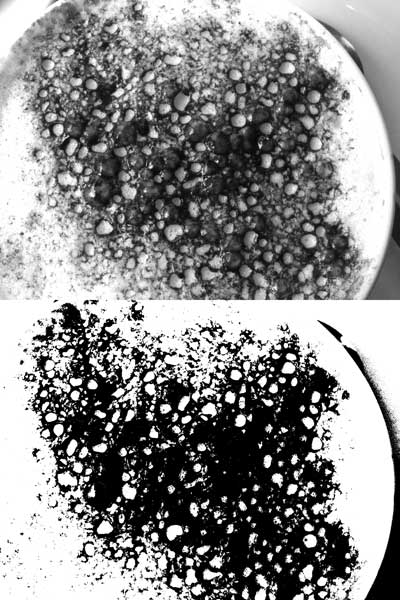
I wanted the figure to be covered in spattered grime and blood (nice me). Photoshop and Painter aren't terribly good at generating big, coarse textures like that, so the easiest thing to do is to use a captured texture.
In this case, I used a digital photograph of the foam from a cappucino (top). I increased the contrast (below) to make the image more graphic, matching the style of the drawing.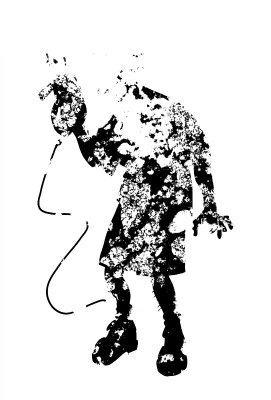 I hid the line-work layer and pasted the texture into the drawing, under the white mask. The texture was black on an opaque white layer, and I wanted it to be in colour on a transparent layer, so I turned this image into a mask by going to the Channels palette and duplicating one of the channels (since the information is black & white, any of the three channels will do.)
In this case, I used a digital photograph of the foam from a cappucino (top). I increased the contrast (below) to make the image more graphic, matching the style of the drawing.
 I hid the line-work layer and pasted the texture into the drawing, under the white mask. The texture was black on an opaque white layer, and I wanted it to be in colour on a transparent layer, so I turned this image into a mask by going to the Channels palette and duplicating one of the channels (since the information is black & white, any of the three channels will do.)
 The mask can then be loaded using Select: Load Selection... and filled with colour using Edit: Fill
Stage Three: Colouring in Painter

Opening the file in Painter, I locked transparency on the layer containing the texture and painted into it with browns and greens, so that it looks like mud is mixing in on the legs and feet. Locking transparency (in Photoshop and Painter) means you can only paint or fill on parts of the layer that already contain pixels; or more simply, it stops you "colouring outside the lines")
 Next, I painted on the background using Painter's Sargent Brush (acts like smeary oil paint). Although I hid the texture layer here to show the painting, I painted with the texture in place, so I wouldn't waste time colouring areas that were obscured by texture (note particularly the legs and feet).
 The same image with the texture in place. We're nearly there.
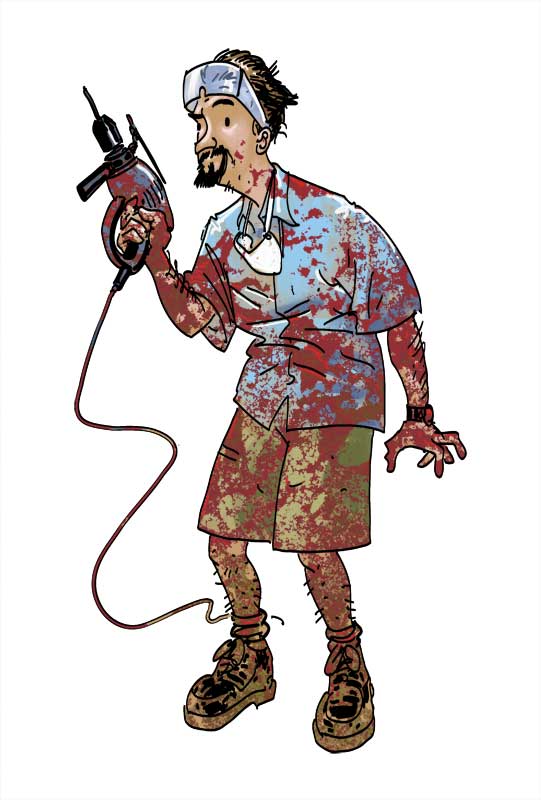
Finally, I added a few highlights to add that bit of extra "pop."
The final step was to go back to Photoshop, adjust the colour a little using Hue/Saturation, and then resize to 800 x 532 pixels @ 72dpi using Image: Image Size and then Save For Web... as an optimized JPEG.
The final step was to go back to Photoshop, adjust the colour a little using Hue/Saturation, and then resize to 800 x 532 pixels @ 72dpi using Image: Image Size and then Save For Web... as an optimized JPEG.

No comments:
Post a Comment